Getting Started
Your first space in five minutes: put files on the canvas, organize them into groups, review, then apply. Nothing is copied or uploaded, and everything can be undone.
1 · Create your first space
On first launch you'll see a one-screen intro ("Your visual file workbench") — click Start.
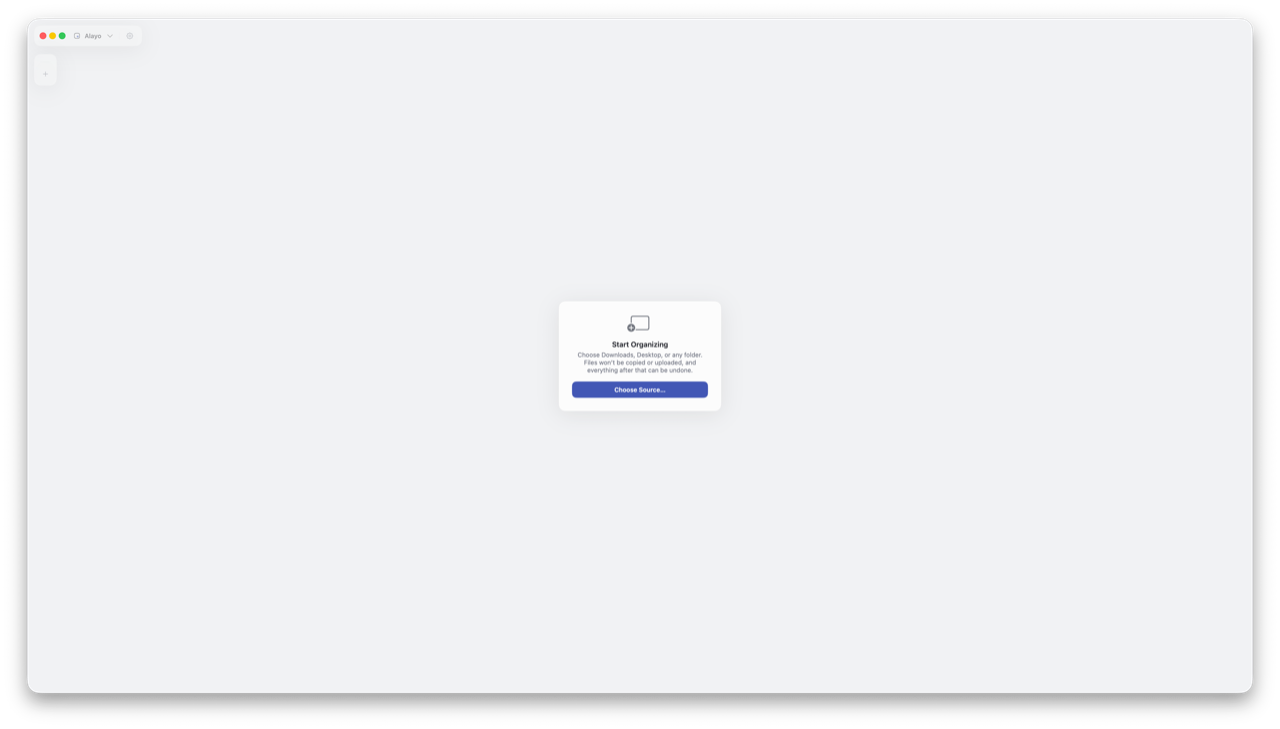
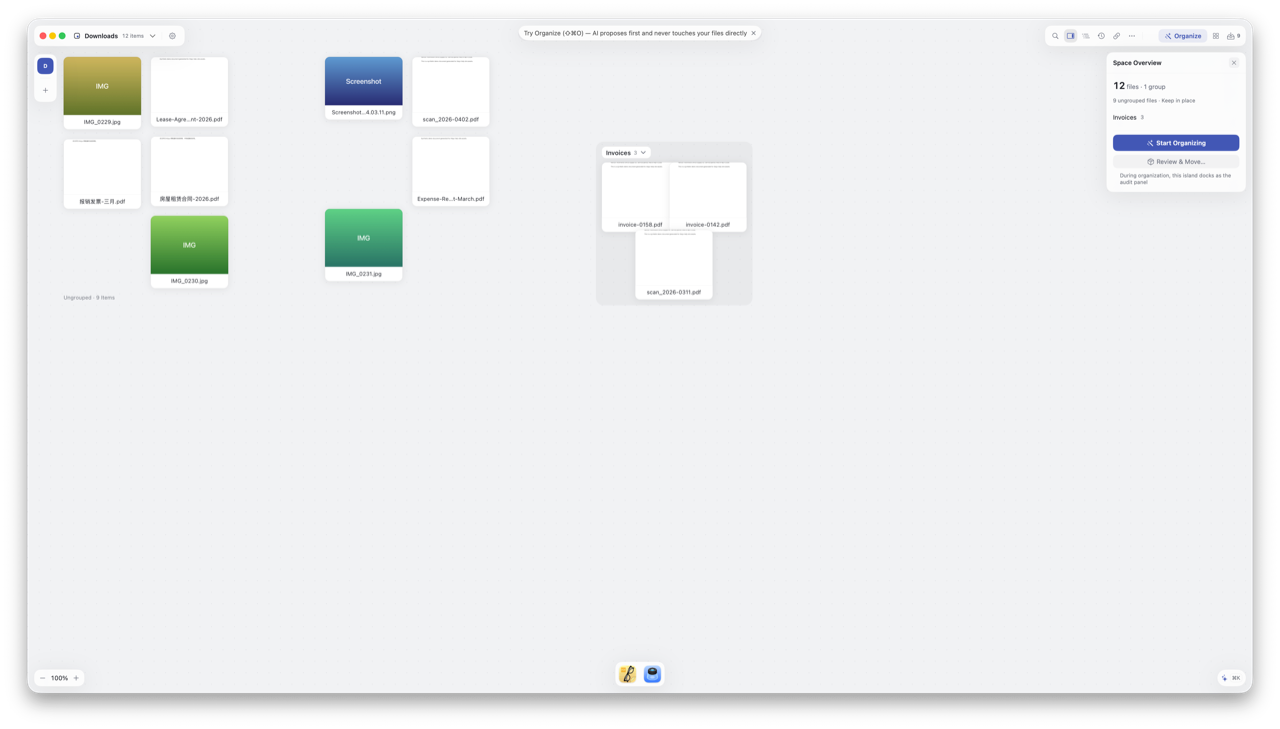
On the empty-state card, click Choose Source… and pick a folder you're actively working in — Downloads or Desktop are fine. The files appear on the canvas as cards.
2 · Arrange freely on the canvas
- Drag cards around and put related things together;
- Select a batch and press G to group them;
- Select a card and press Space for Quick Look.
All of this is a rehearsal: moving and grouping on the canvas never touches the real files on disk, and ⌘Z undoes anything. The full key list lives in the app under Help → Keyboard Shortcuts (⌘/).
3 · Let AI propose an organization (⇧⌘O)
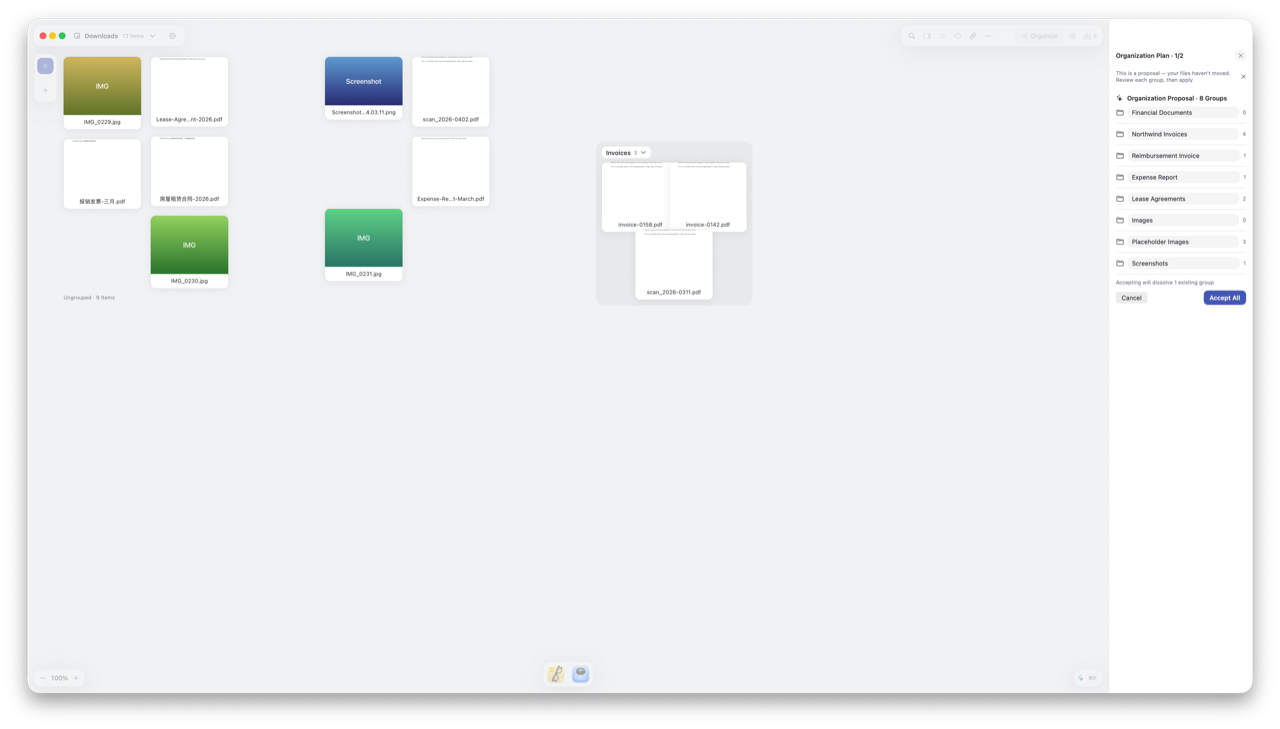
Press ⇧⌘O (or Organize → Smart Organize). AI analyzes the files and proposes groups.
The proposal shows up in the review panel — it's only a proposal; your files haven't moved. Review each group; discard it if you don't like it. Accepting places the groups on the canvas — still a canvas-only change.
4 · Apply: bring the order to your real files
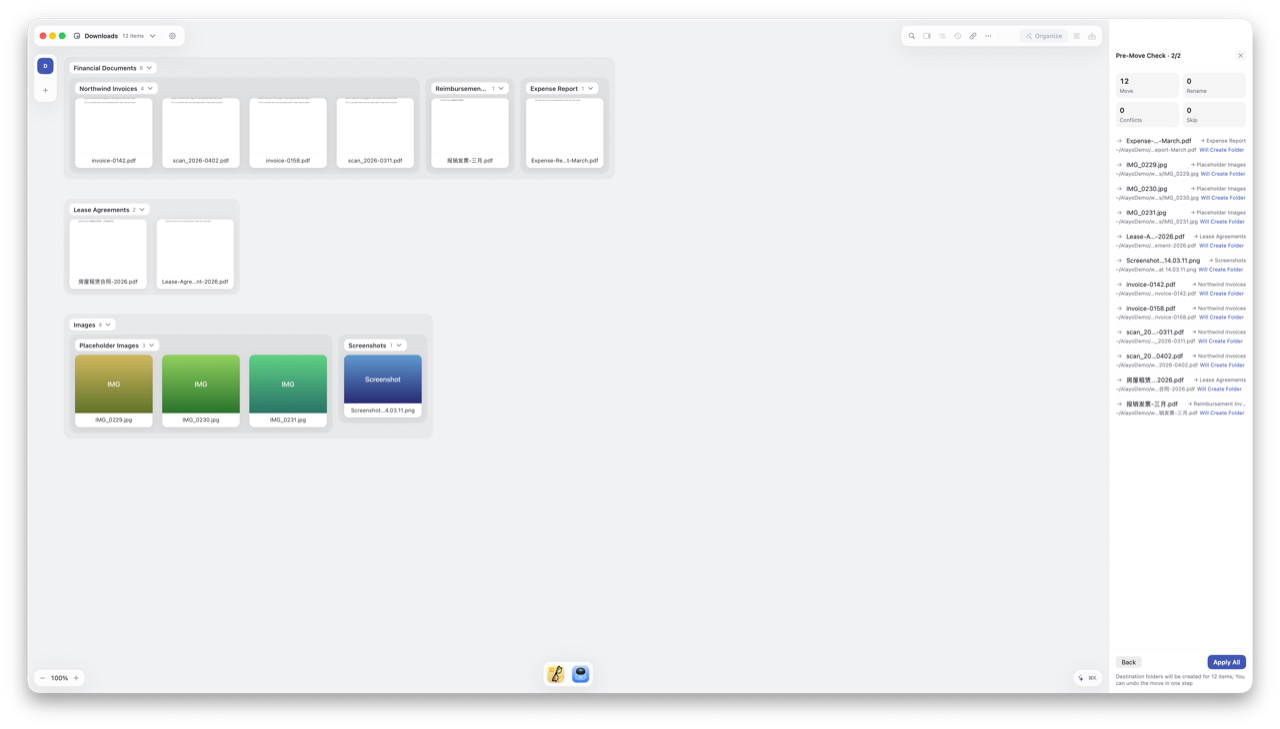
When you're happy, click Check File Changes at the bottom of the review panel. You'll see the complete list: which file, from where, to where. Then click Apply All (or Selected Group Only).
This is the only moment Alayo actually moves files — everything before it can be walked back.
5 · Undo is always there
- Canvas changes: ⌘Z;
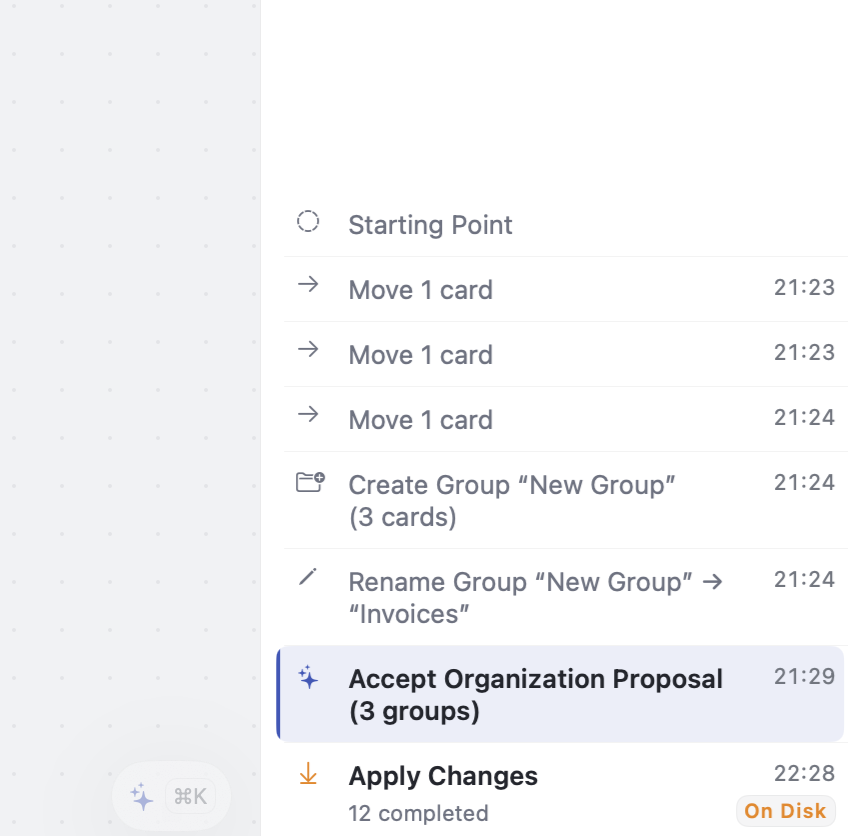
- Applied moves: "Undo This Move" on the result page, or open History and undo any record marked "On Disk" — files return to where they were.
Next
- Why the canvas works this way → Core Concepts
- File safety, AI & privacy, purchasing → FAQ